
Details – Ambulance Project
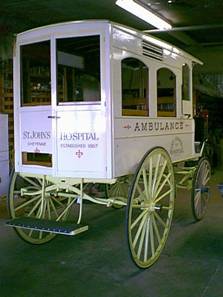
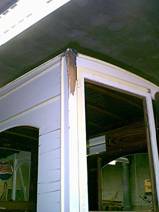
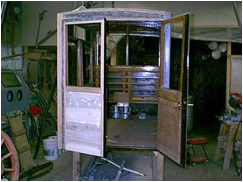
This is how the ambulance came in. The hole in the rear door is pretty obvious. The team following didn’t get stopped in time and put their pole through the door. You can see the right front wheel has already been repaired just to make it navigable. You can also see the upper left hand corner frame damaged and cracks appearing in the panels. These cracks were not due to the wreck, but drying out over the years since its last restoration.
The front end took the brunt of the damage when it hit the car, bending the fifth wheel assembly, ruining the springs and breaking the driver’s footboard framing.
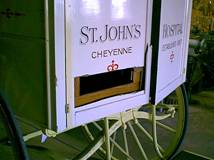
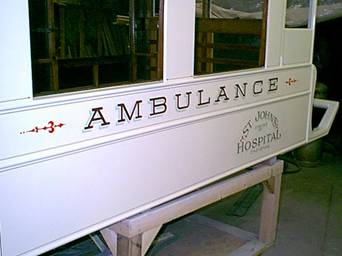
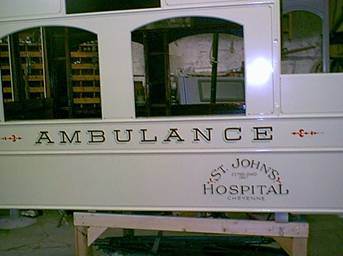
Since we need to replicate the stripe and lettering, we’ll take pictures and stencil what is there so we can put it back just like it was.

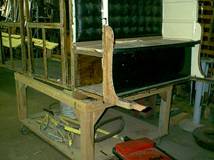
Now comes the dismantling that begins to show the extent of the frame damages the vehicle underwent as a result of the wreck.
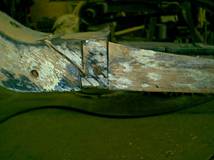
Even though there is a heavy half inch piece of iron inside this footboard frame, the wreck still put quite a strain on the joint work.

Since the left rear frame took such a hit, it needed to be pulled out, replaced and integrated into the original framing.

This being done, with enough clamps in appropriate positions, we could make sure the body framing remained square so that when the doors were rebuild and installed, they would fit and operate correctly.

Now with the driver’s footboard repaired with new framing on both sides, we can finally begin the process of new paneling.

We use poplar almost exclusively to keep in line with original construction methods.

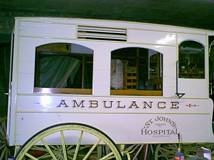
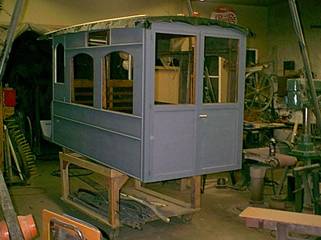
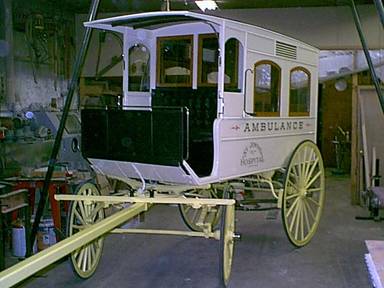
As you can see here, there is hope that this might look like an ambulance again. The body panels are on and time to rebuild the left rear door. The windows in the rear all have drop down window panes while the driver’s windows are permanent beveled glass.
The right door was in fine condition, but the left door needed complete replacement. When the team behind hit the door, they splintered the door frame, panels, window frame, and shattered the glass. Both doors also have drop down windows which fit into the lower panels.
The side moldings were salvageable so they were put back on and the primer coats applied. When this vehicle landed on its upper left rear corner and damaged the framing, it also damaged the topping material. Here we can see new topping being fitted after the primer so all the wood is sealed, even under the material.
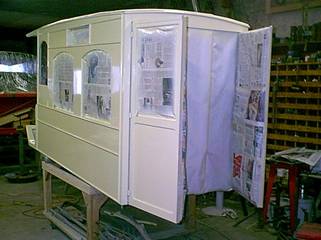
The interior of this ambulance is all natural finished, so in the painting process that all needed to be protected.

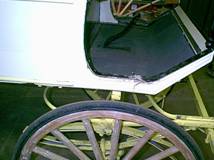
With the painting on, next comes the duplicating of lettering and designs. When this vehicle came in the molding was highlighted with the same color yellow as the undercarriage. As I thought this to be inappropriate for vehicles of this era, I applied a fine line stripe inside the moldings and door frames to add the needed accenting.
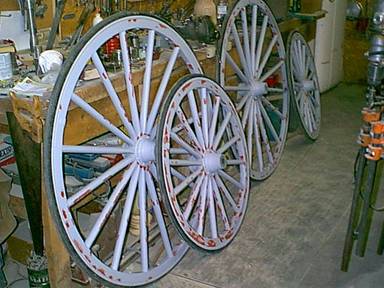
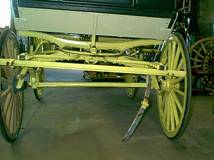
Now we need to get the undercarriage caught up to complete the process. We’ve got the tires reset, rubber tiring back on, old finish removed and the priming underway.

The fifth wheel is straightened out, we have repaired the springs, installed a new splinter bar and we’re ready to finish the painting process on the undercarriage.

This is the nerve-racking time. Everything is painted, striped and ready to reassemble. Now is not the time for scratches or dings. With the aid of an overhead hoist frame, the body is elevated to make ready for the undercarriage. Here we have the rear spring/axle assembly refastened and preparing for the front axle.
With a little patience, perseverance, fear and trembling, we finally have Cheyenne’s Old West Museum ambulance back together and ready to go home. As always, it’s a pleasure to see a vehicle back together and functional again.
Thanks again to the folks at the Old West Museum for entrusting the restoration care of their ambulance to Engel’s Coach Shop!
